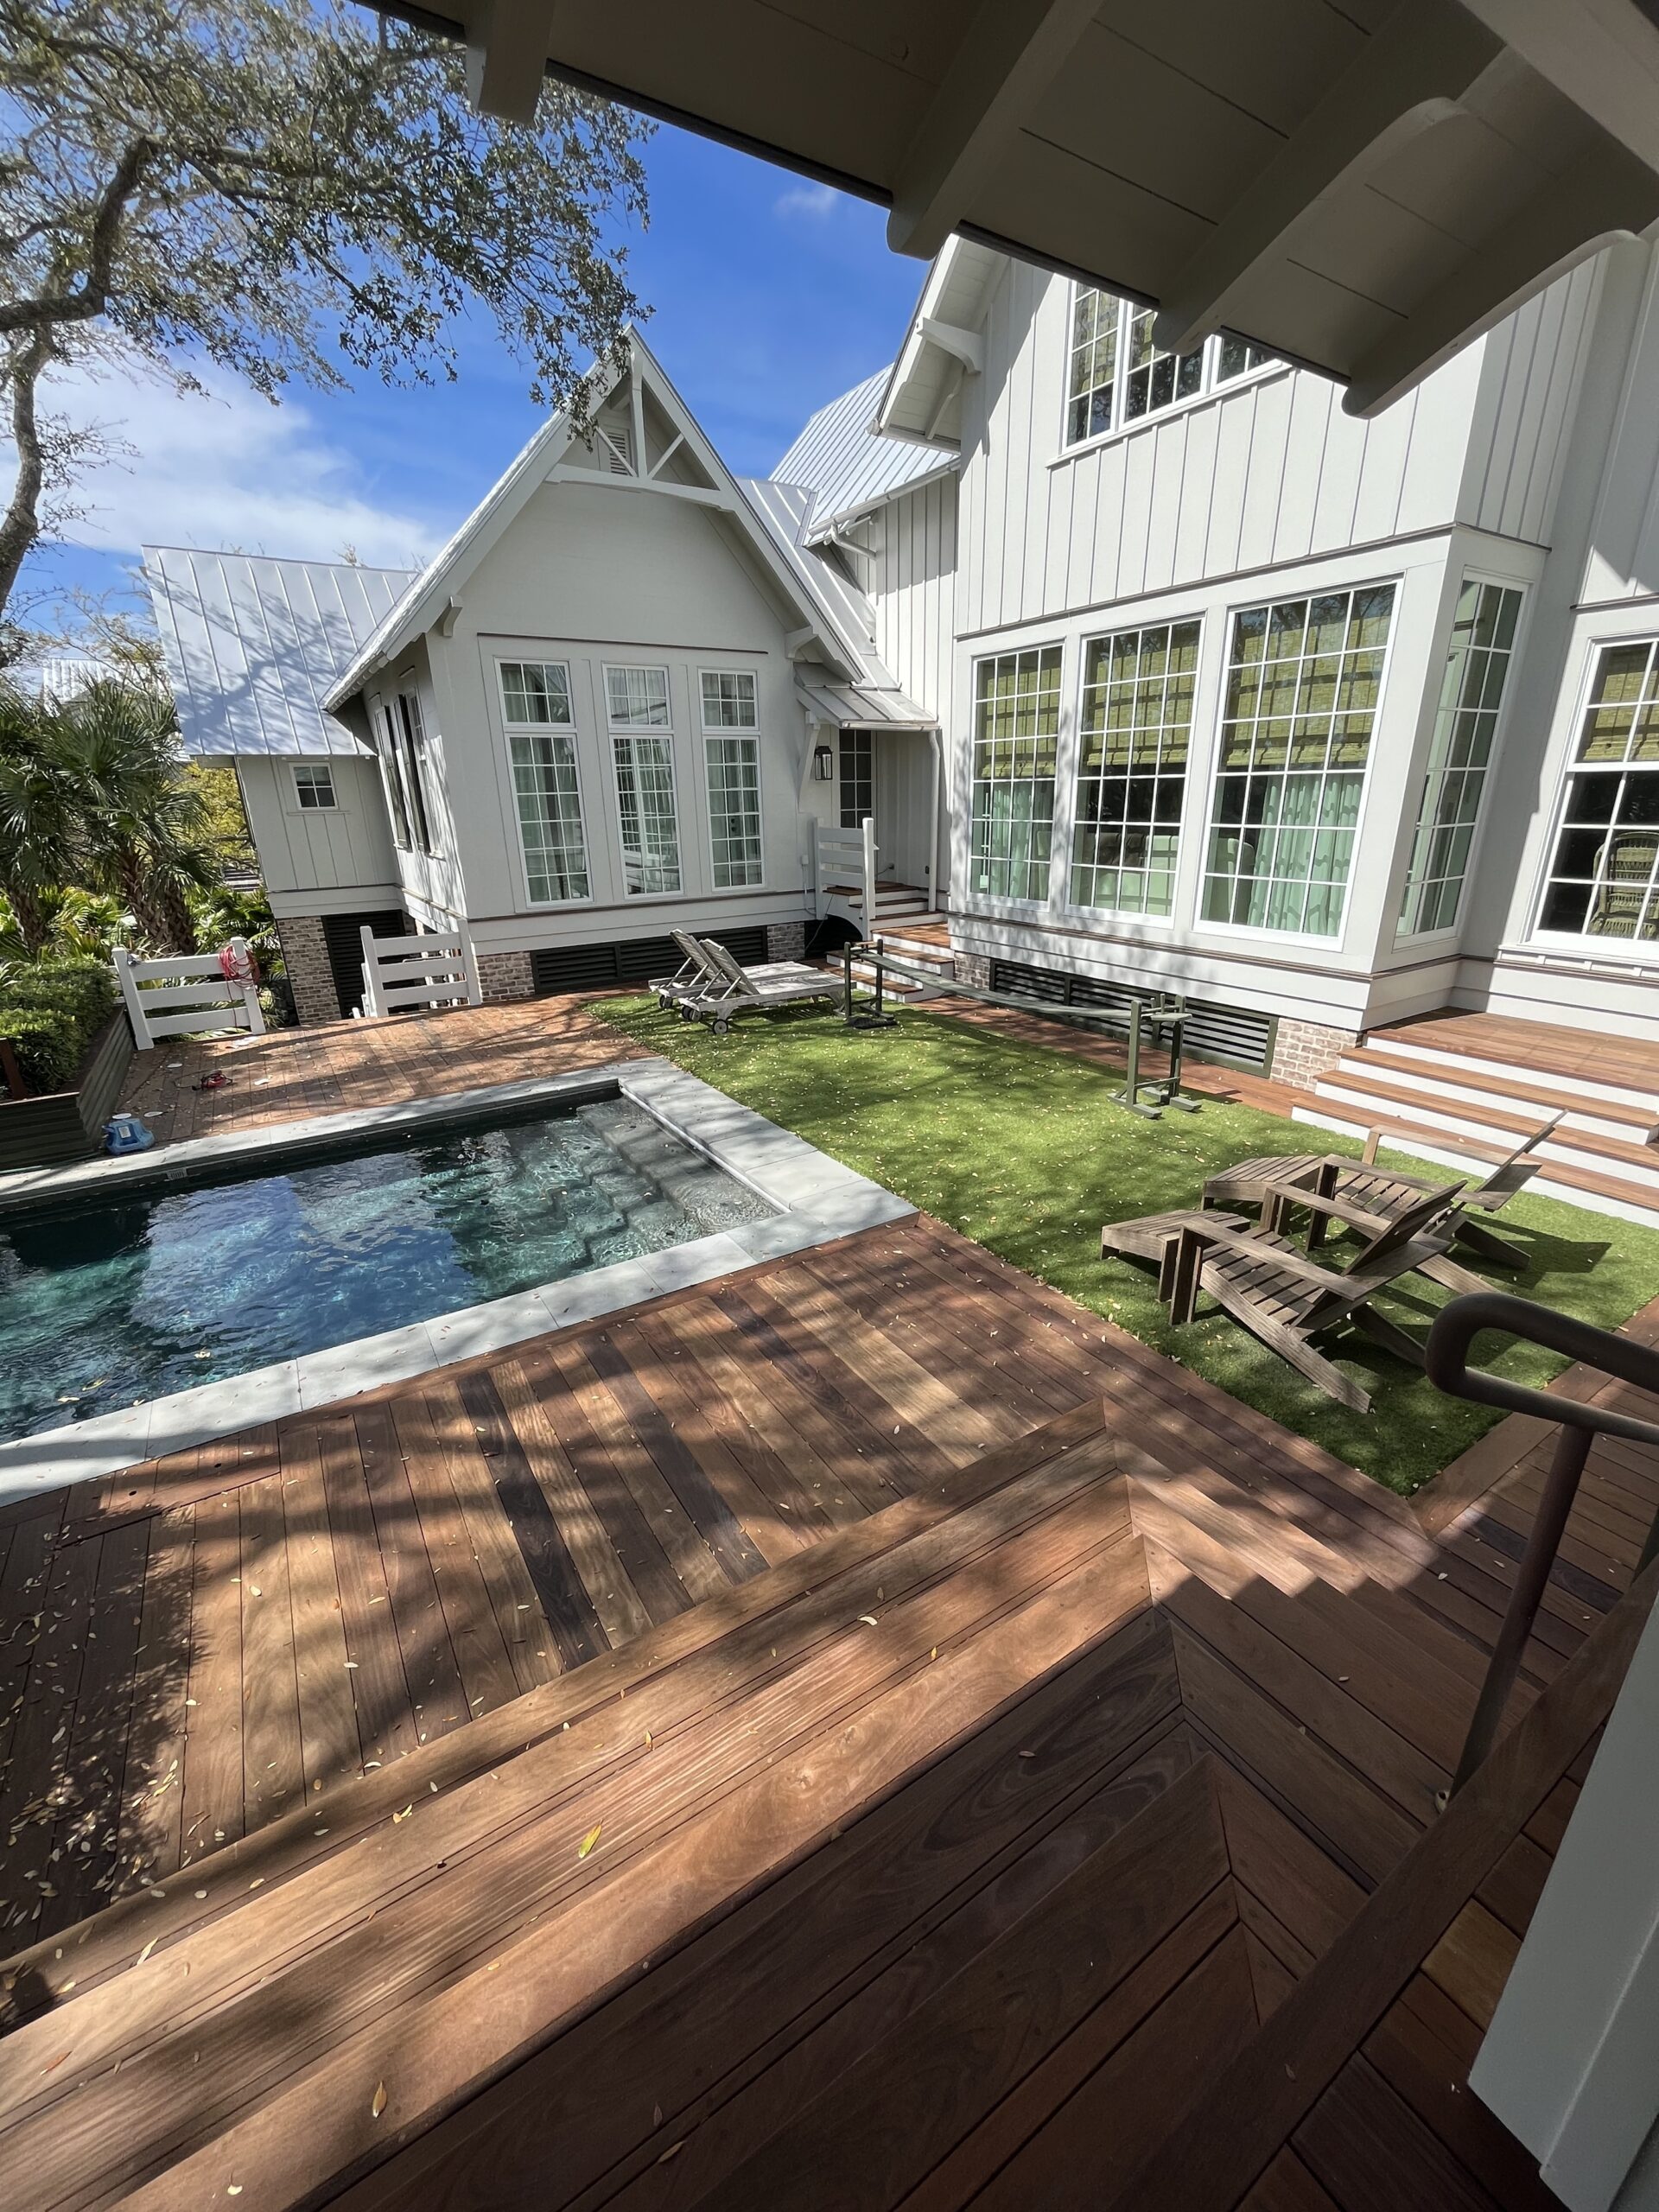
As summer arrives in Boise, Kuna, Meridian, ID, and the surrounding area, it’s the perfect time to refresh your home’s exterior with help from Handyman Connection of Boise. Our experienced team is here to handle all your outdoor repair and remodeling needs, delivering quality workmanship that enhances your curb appeal, comfort, and property value. Whether you’re planning a new deck, replacing old windows, or cleaning out your gutters, we’re ready to help. Call us today at 208-504-1235 to schedule your summer project.
Deck repair, installation, and staining
From small touch-ups to large outdoor renovations, we’re proud to offer a full range of exterior handyman services designed to keep your home looking great all season long.
Let us handle the hard work this summer so you can enjoy your outdoor spaces worry-free.

Home Improvement / January 3, 2019

The right trim or casing can greatly improve the look of your windows and even connect it to the rest of your home. While picking the perfect trim is relatively straightforward and simple, the same can’t be said of installing new trim.
In this post, Handyman Connection® of Boise discusses how to properly install your new window trim.
Cutting and Fitting
Start by cutting a 45-degree angle on one of the sides of the trim. Hold it properly so that the short end overhangs or extends by at least 3/8 of an inch into the jamb. Mark the other end so that it’s accurate and flush with the inside of the jamb. The result is a standard 3/16-inch reveal, perfect for double hung, casement and picture windows.
For the top piece, hold it in place on top of the rest of the trim a 1/16 of an inch away from the jamb at both ends. Use one-inch brad nails for this, and give the top piece six inches of space between them.
The Side Trim
For the side trim, cut a 45-degree piece at the end of the trim using the top part as a visual guide. Nail the trim on the jamb, and then cut the length by around 3/16 of an inch. Do the same cut on the other side of the trim using the previously cut part as a guide. Alternatively, you can glue and pin the corners, but it won’t be as secure as custom-cut side trim.
The Bottom Trim
The bottom part of the trim has the same measurements as the top parts, so you just have to follow the same measurements when cutting it. Use this along with the side trim as a guide when cutting the bottom trim.
Once you’re done, all you have to do is seal the side areas with glue to secure the new trim in place. It’s up to you now on how to finish up the new trim; you can either do the usual sand and varnish, and leave it as it is, or you can paint it. For the latter, make sure to pick a color that complements your home’s architectural details.
For more complicated window and door projects, let Handyman Connection of Boise do the work for you. Fill out our form, or give us a call at (208) 268-0088 to get an estimate on our home improvement services.