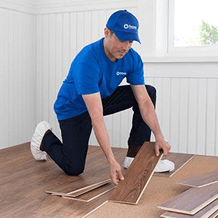
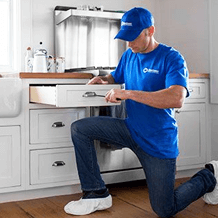
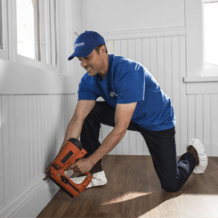
When home repairs start piling up, it’s easy to feel overwhelmed. From small fixes to larger improvement projects, having a trusted professional makes all the difference. At Handyman Connection, our skilled craftsmen are here to handle everything from drywall repairs and painting to shelving installation and general home maintenance—so you can focus on what matters most.
Working with licensed, bonded, and insured professionals ensures your home is in capable hands. Our team takes pride in delivering high-quality workmanship, clear communication, and reliable service on every project. Whether you need help tackling a to-do list or completing a more detailed renovation, we provide solutions that are efficient, safe, and built to last.
Ready to get started? Skip the stress of DIY and let the experts take care of it. Request an estimate today and discover how easy it can be to bring your home projects to life with professional support you can trust.

home maintenance / September 17, 2018
You don’t have to live with a chipped or broken tile and an unattractive floor or wall. With the right method and tools, you can replace the tile by yourself. Follow these four simple steps from Handyman Connection® of Winter Park:
Loosen the Broken Tile – Wear safety glasses to shield your eyes from chips, dust and other debris while working on this chore. Scrape the grout around the damaged tile using a carbide-tipped scoring tool. Work carefully so you won’t damage the intact tiles around the one you’re trying to remove.
Once you have removed the grout, cover the edges of the adjacent tiles using painter’s tape to protect them. Next, drill a series of holes into the tile’s broken parts using a 1/4 -inch ceramic bit. This will free the chunks from the substrate.
Remove the Cracked Tile – Use a 3/8 inch or 1/4 inch tile chisel to remove the broken tile. You can use a flat-blade screwdriver or cold chisel instead if you don’t have a tile chisel. Use a narrow chisel and hammer to tap out the broken pieces of the tile lightly.
Start at a 90-degree angle to the floor and then shift to a 45-degree angle once you pierce the glaze. Work from the center out toward the edges. Clean the old thinset off the substrate with a wider chisel after removing the tile.
Install the New Tile – Comb some thinset mortar over the substrate using a 1/4 inch trowel. For tighter and better adhesion, consider covering the back of the new tile with thinset, as well. Place the tile and make sure it is flush with the neighboring tiles. Wait for two hours for the thinset to cure.
Apply Grout – Mix a batch of grout. Use a rubber grout float held at a 45-degree angle to apply it to the joints. Wait for 15 minutes for the grout to harden. When the grout no longer feels sticky, wipe off the excess using a wet sponge. Don’t walk on the new tile for at least a day.
If you don’t plan on doing this project yourself, Handyman Connection of Winter Park can help. Our handymen have many years of experience, and we back their work with a satisfaction guarantee. Give us a call at (407) 270-2348 or contact us here to learn more about our services or to get an estimate.
1850 Lee Rd Suite 313
Winter Park, FL 32789
Certified Building Contractor 1262186

© Handyman Connection 2026 | Privacy Policy
 407-618-5550